The Background: SCaLE 23x and a Happy Coincidence
For the past few years, I’ve owned a Synology NAS. However, I have not really utilized its full potential. Over the last couple months, I’ve started diving deeper into its capabilities and potential use cases beyond storage.
So far, my primary use of the NAS has been to store pictures, videos, file backups, and host some small Docker containers. For example, I’ve been hosting a Heimdall instance to provide me with a customizable dashboard. A couple months ago, I decided to install a Pi-hole container for network wide adblocking. Setting up Pi-hole was a catalyst that drove me to dive deeper into what the NAS is capable of.
After installing Pi-hole, I also set up HomeAssistant as a VM. After doing this, I felt very comfortable setting up and configuring both VMs and containers for myself.
Fast forward to this week. I’ve planned on attending SCaLE 23x, and thought I would experiment with setting up a personal VPN to my home network. My primary motivation was to have a secure tunnel while using the public wifi. After a little exploration, I found out I had the following options:
- Set up Wireguard as a Docker container.
- This required more manual configuration than I was willing to invest.
- Set up Synology’s VPN Server app with OpenVPN.
- This felt heavier than what I needed.
- Use Synology’s Tailscale app.
- Immediately intriguing with its promises of simplicity.
Initially, I was hesitant to try Tailscale because it required setting up an account. However, as I read more about it, and learned it was built on top of Wireguard, I decided to give it a try.
Turns out, Tailscale was really easy to set up and provides everything I needed. Conveniently, there was even a sponsored workshop on Tailscale, which I was able to attend, that covered how to connect Tailscale to AWS EC2 instances. Seeing how flexible the tailnet model was gave me the idea to use it for accessing Ollama on my home PC.
Now let’s dive in to how I set everything up.
| Feature | Tailscale + Ollama | Port Forwarding |
|---|---|---|
| Security | End-to-end encrypted | Exposed to public internet |
| Complexity | Zero-config (MagicDNS) | Manual router config |
| Access | Global (anywhere) | Static IP or DDNS needed |
Prerequisites and Architecture Overview
Here are the prerequisites you’ll need if you want to follow along:
- Synology NAS with DSM 7+. I have a DS220+ with 6GB of aftermarket RAM.
- Home PC with a GPU.
- Tailscale account.
- Laptop.
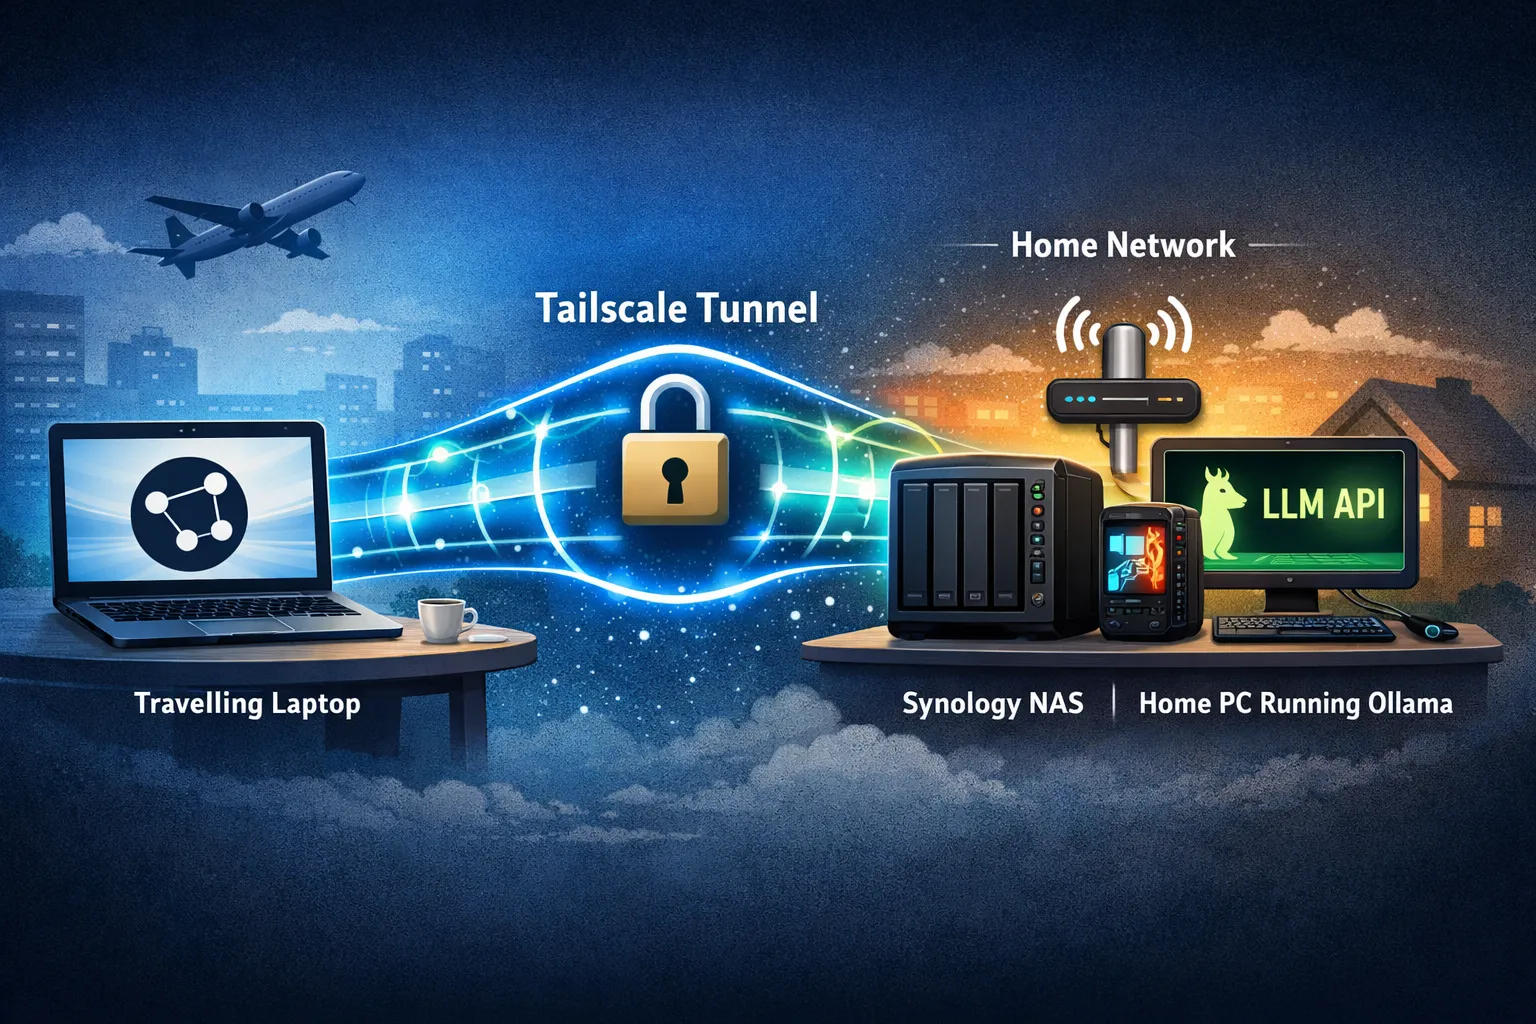
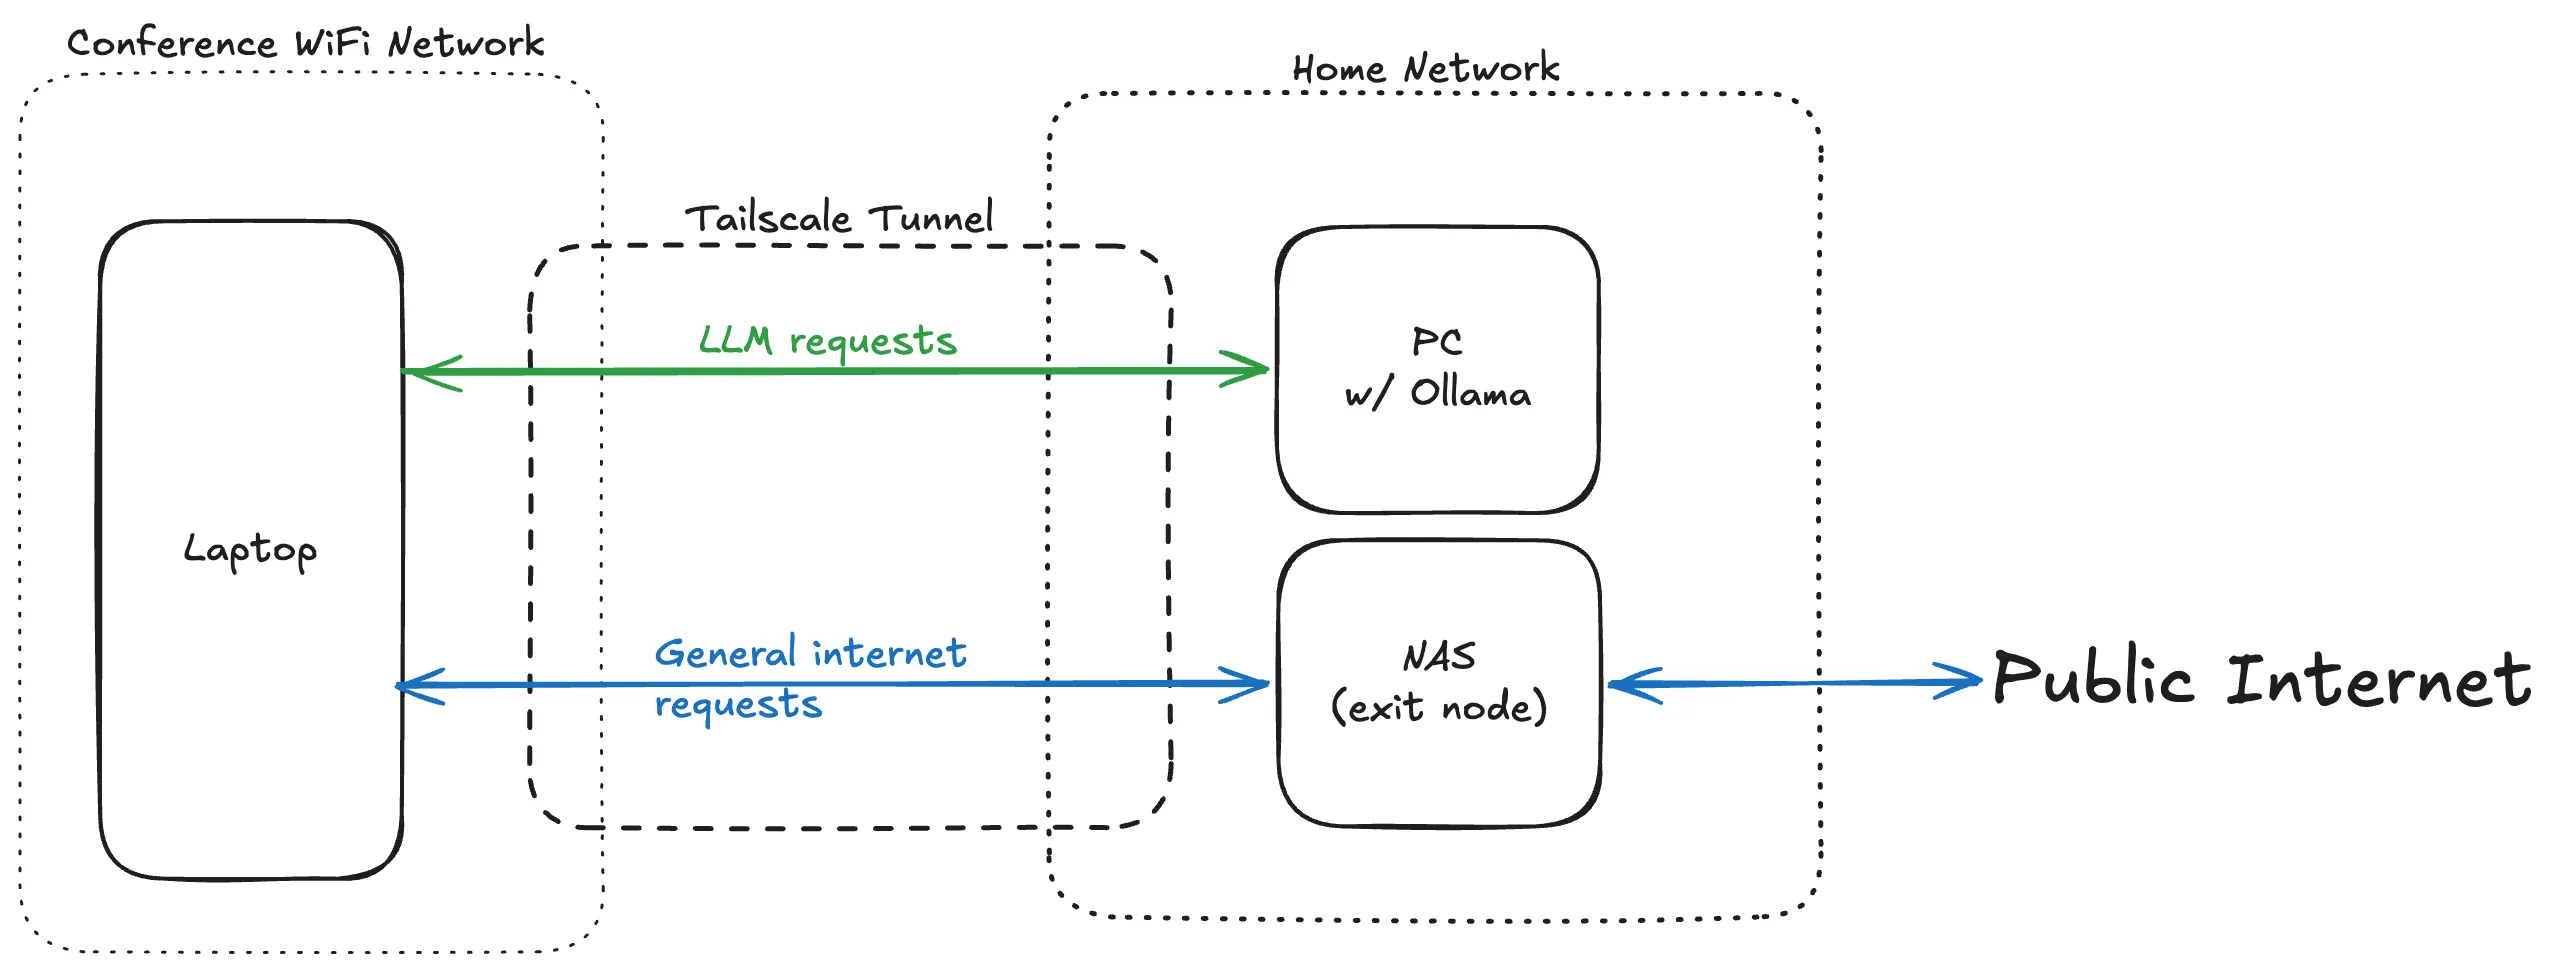
And here’s a broad outline of the tailnet topology:
Installing Tailscale on Synology DSM
First, you have to set up the NAS. In broad strokes, that involves these steps:
- Installing the Tailscale app in DSM.
- Creating a Tailscale account.
- Linking the NAS to the account via the app.
- Modifying the NAS to act as an exit node (via SSH terminal commands).
I won’t go into detail on this, though. For more detailed instructions, see Access Synology NAS from anywhere.
Second, you need to install Tailscale on the PC and the laptop. For specific downloads, visit the Tailscale Downloads page.
Once the PC has been set up with Tailscale, make note of the tailnet IP address for it. It’ll look something like 100.x.x.x.
Configuring Ollama for Remote Tailscale Access
First, download Ollama to the PC. For Windows, you can download Ollama at the official download page.
Next, open a Powershell terminal and run the following command (replace 100.x.x.x with the PC’s tailnet IP address):
setx OLLAMA_HOST 100.x.x.x
This sets the variable permanently for future sessions but won’t affect the currently running Ollama process, so restart Ollama. One way to do this is kill the app via Task Manager, and then reopen it. With the environment variable set, Ollama will now accept incoming requests from tailnet.
On the laptop, you can verify everything is working with the following command:
curl http://100.x.x.x:11434/api/tags
You should receive some JSON indicating the request was successful. For example, {"models":[]} will be returned if you have no models downloaded yet.
Accessing Ollama Remotely Over the Tailnet
A good way to access the models on the PC from the laptop is via Open WebUI. For instructions on how to set it up, you can follow the official quickstart guide. Open WebUI allows you to access the models via a chat interface, and configure custom model providers.
Follow the instructions to set up Open WebUI on the laptop. After setting everything up, it should be available on http://localhost:3000. For me, I run it as a Docker container via Podman.
To set up the PC as a model provider, go to Settings > Admin Settings > Connections.
Scroll down to the Ollama section, and click the + button. Enter http://100.x.x.x:11434 as the base URL, then click save.
Now, you can proceed to install models. Click on the “Manage” button (looks like a download icon). Enter in the model name, click the “Pull” button (looks like a download icon).
If everything has been set up correctly, you can open a new chat and select the model from the dropdown list.
Alternative: Using Tailscale Serve
While setting OLLAMA_HOST is the most permanent way to bind the service to your tailnet, you can also use Tailscale Serve to proxy the traffic. This is an excellent alternative if you prefer to keep Ollama running on its default localhost settings but still need to expose it securely to other devices on your tailnet.
To use this method, leave Ollama on its default configuration and run the following command in your terminal:
tailscale serve http:11434 http://localhost:11434
Why use Tailscale Serve instead?
- No Environment Variables: You don’t have to manage system-wide variables or restart the app to change access.
- Granular Control: You can quickly turn access on or off by starting or stopping the “serve” process.
- Funnel Ready: If you eventually want to share your local LLM with a friend outside your tailnet, you can easily upgrade this to Tailscale Funnel.
What You Get Out of This
With everything set up, there are two distinct but complementary benefits from this tailnet system.
The first is a secure tunnel for general internet traffic. When you’re on an untrusted network — like conference WiFi — routing your traffic through the NAS exit node means your ISP at home handles your connection rather than whatever’s running on the local network. It’s a lightweight alternative to a commercial VPN, and one you fully control.
The second is access to private LLMs running on your own hardware. Unlike cloud-hosted models, nothing you send to Ollama leaves your home network. Your prompts, your data, and your model weights stay on your PC. For anyone doing work they’d rather not pipe through OpenAI or Anthropic, this is a meaningful distinction — and once it’s set up, the experience through Open WebUI is smooth enough that you won’t miss the convenience of hosted models.